How To Carve A Turkey Like A Pro: Your Ultimate Step-by-Step Guide
The centerpiece of many holiday feasts, especially Thanksgiving, is undoubtedly the roasted turkey. While the aroma of a perfectly cooked bird can fill your home with warmth and anticipation, the thought of carving it can often feel a little intimidating. You might wonder how to get those beautiful, even slices, or how to separate the dark meat from the white without making a mess. But fear not! Learning how to carve a turkey like a pro is easier than you think. With some simple steps, the right tools, and a bit of confidence, you'll be able to create a stunning, photo-worthy platter that will impress all your guests.
This comprehensive guide is suitable for complete beginners and experienced carvers alike. We'll break down the process, ensuring you get more delicious meat, less waste, and a truly beautiful presentation for your holiday table.
Why Mastering Turkey Carving Matters
Beyond just looking good, knowing the right techniques to carve up a turkey offers several advantages:
- Perfect Presentation: A neatly carved turkey elevates the entire dining experience. You'll be able to plate the most beautiful Thanksgiving turkey, making it a feast for the eyes as well as the stomach.
- Even Slices: Proper carving ensures consistent slices of both dark and white meat, allowing everyone to enjoy their preferred cut.
- Maintains Flavor and Moisture: Slicing the turkey effectively and at the right time helps to maintain its flavor and moisture, guaranteeing a delicious bite every time.
- Less Waste: By understanding how to efficiently remove all the meat from the bones, you'll minimize waste and get the most out of your bird.
Essential Tools for Turkey Carving
You don't need a professional chef's arsenal, but having a few key tools will make the process much smoother. While some might say "no special equipment needed," having these basics will certainly help:
- A Sharp Knife: This is arguably the most important tool. A long, sharp carving knife or chef's knife is ideal. A dull knife is not only ineffective but also dangerous.
- A Meat Fork: This helps stabilize the turkey on the cutting board, preventing it from slipping while you carve.
- A Sturdy Cutting Board: Choose a large cutting board, preferably one with a well or groove around the edge to collect any juices that drip out. This keeps your countertop clean.
- Kitchen Shears (Optional but Recommended): Useful for cutting through smaller bones or joints, especially when removing the backbone if you've spatchcocked your turkey.
The Crucial First Step: Resting Your Turkey
Before you even think about picking up that carving knife, there's one golden rule: allow your cooked turkey to sit for about 20 to 30 minutes (or even longer for very large birds) after it comes out of the oven. This step is non-negotiable for two main reasons:
- Juice Redistribution: As the turkey cooks, the juices migrate to the center of the bird. Resting allows these juices to redistribute throughout the meat. If you carve too soon, all those delicious juices will simply run out onto your cutting board, leaving you with dry meat.
- Easier Carving: A rested turkey is also firmer and easier to carve. The meat will hold its shape better, allowing for cleaner, more precise slices.
Be sure that the turkey has rested at room temperature before starting to carve. You can loosely tent it with foil to keep it warm, but avoid wrapping it tightly, which can steam the skin and make it soggy.
Step-by-Step Carving Guide
Now that your turkey is perfectly rested and your tools are ready, let's get to the main event. Learn how to carve a turkey in these simple steps:
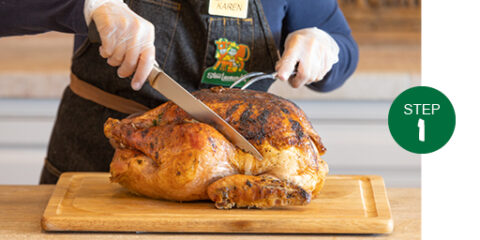
1. Setting Up Your Carving Station
Place your rested turkey on your sturdy cutting board, ensuring it has a well around the edge to collect any juices that drip out. Have a platter nearby to arrange your carved meat.
2. Removing the Legs and Thighs
This is often the easiest place to start. Follow these simple steps to remove the legs and drumsticks:
- Locate the Joint: Gently pull one leg away from the body. Using your sharp knife, cut through the skin and meat connecting the leg to the breast.
- Separate the Thigh and Drumstick: Once the leg is detached, you'll see a joint connecting the drumstick and thigh. Bend the joint to find where the bones meet, then slice through the joint to separate them.
- Slice the Meat (Optional): For easier serving, you can slice the dark meat off the thigh bone.
Repeat for the other leg.
3. Detaching the Wings
Similar to the legs, the wings are attached by a joint. Pull the wing away from the body and cut through the joint where it connects to the breast. You can serve the wings whole or separate the drumette from the flat if desired.
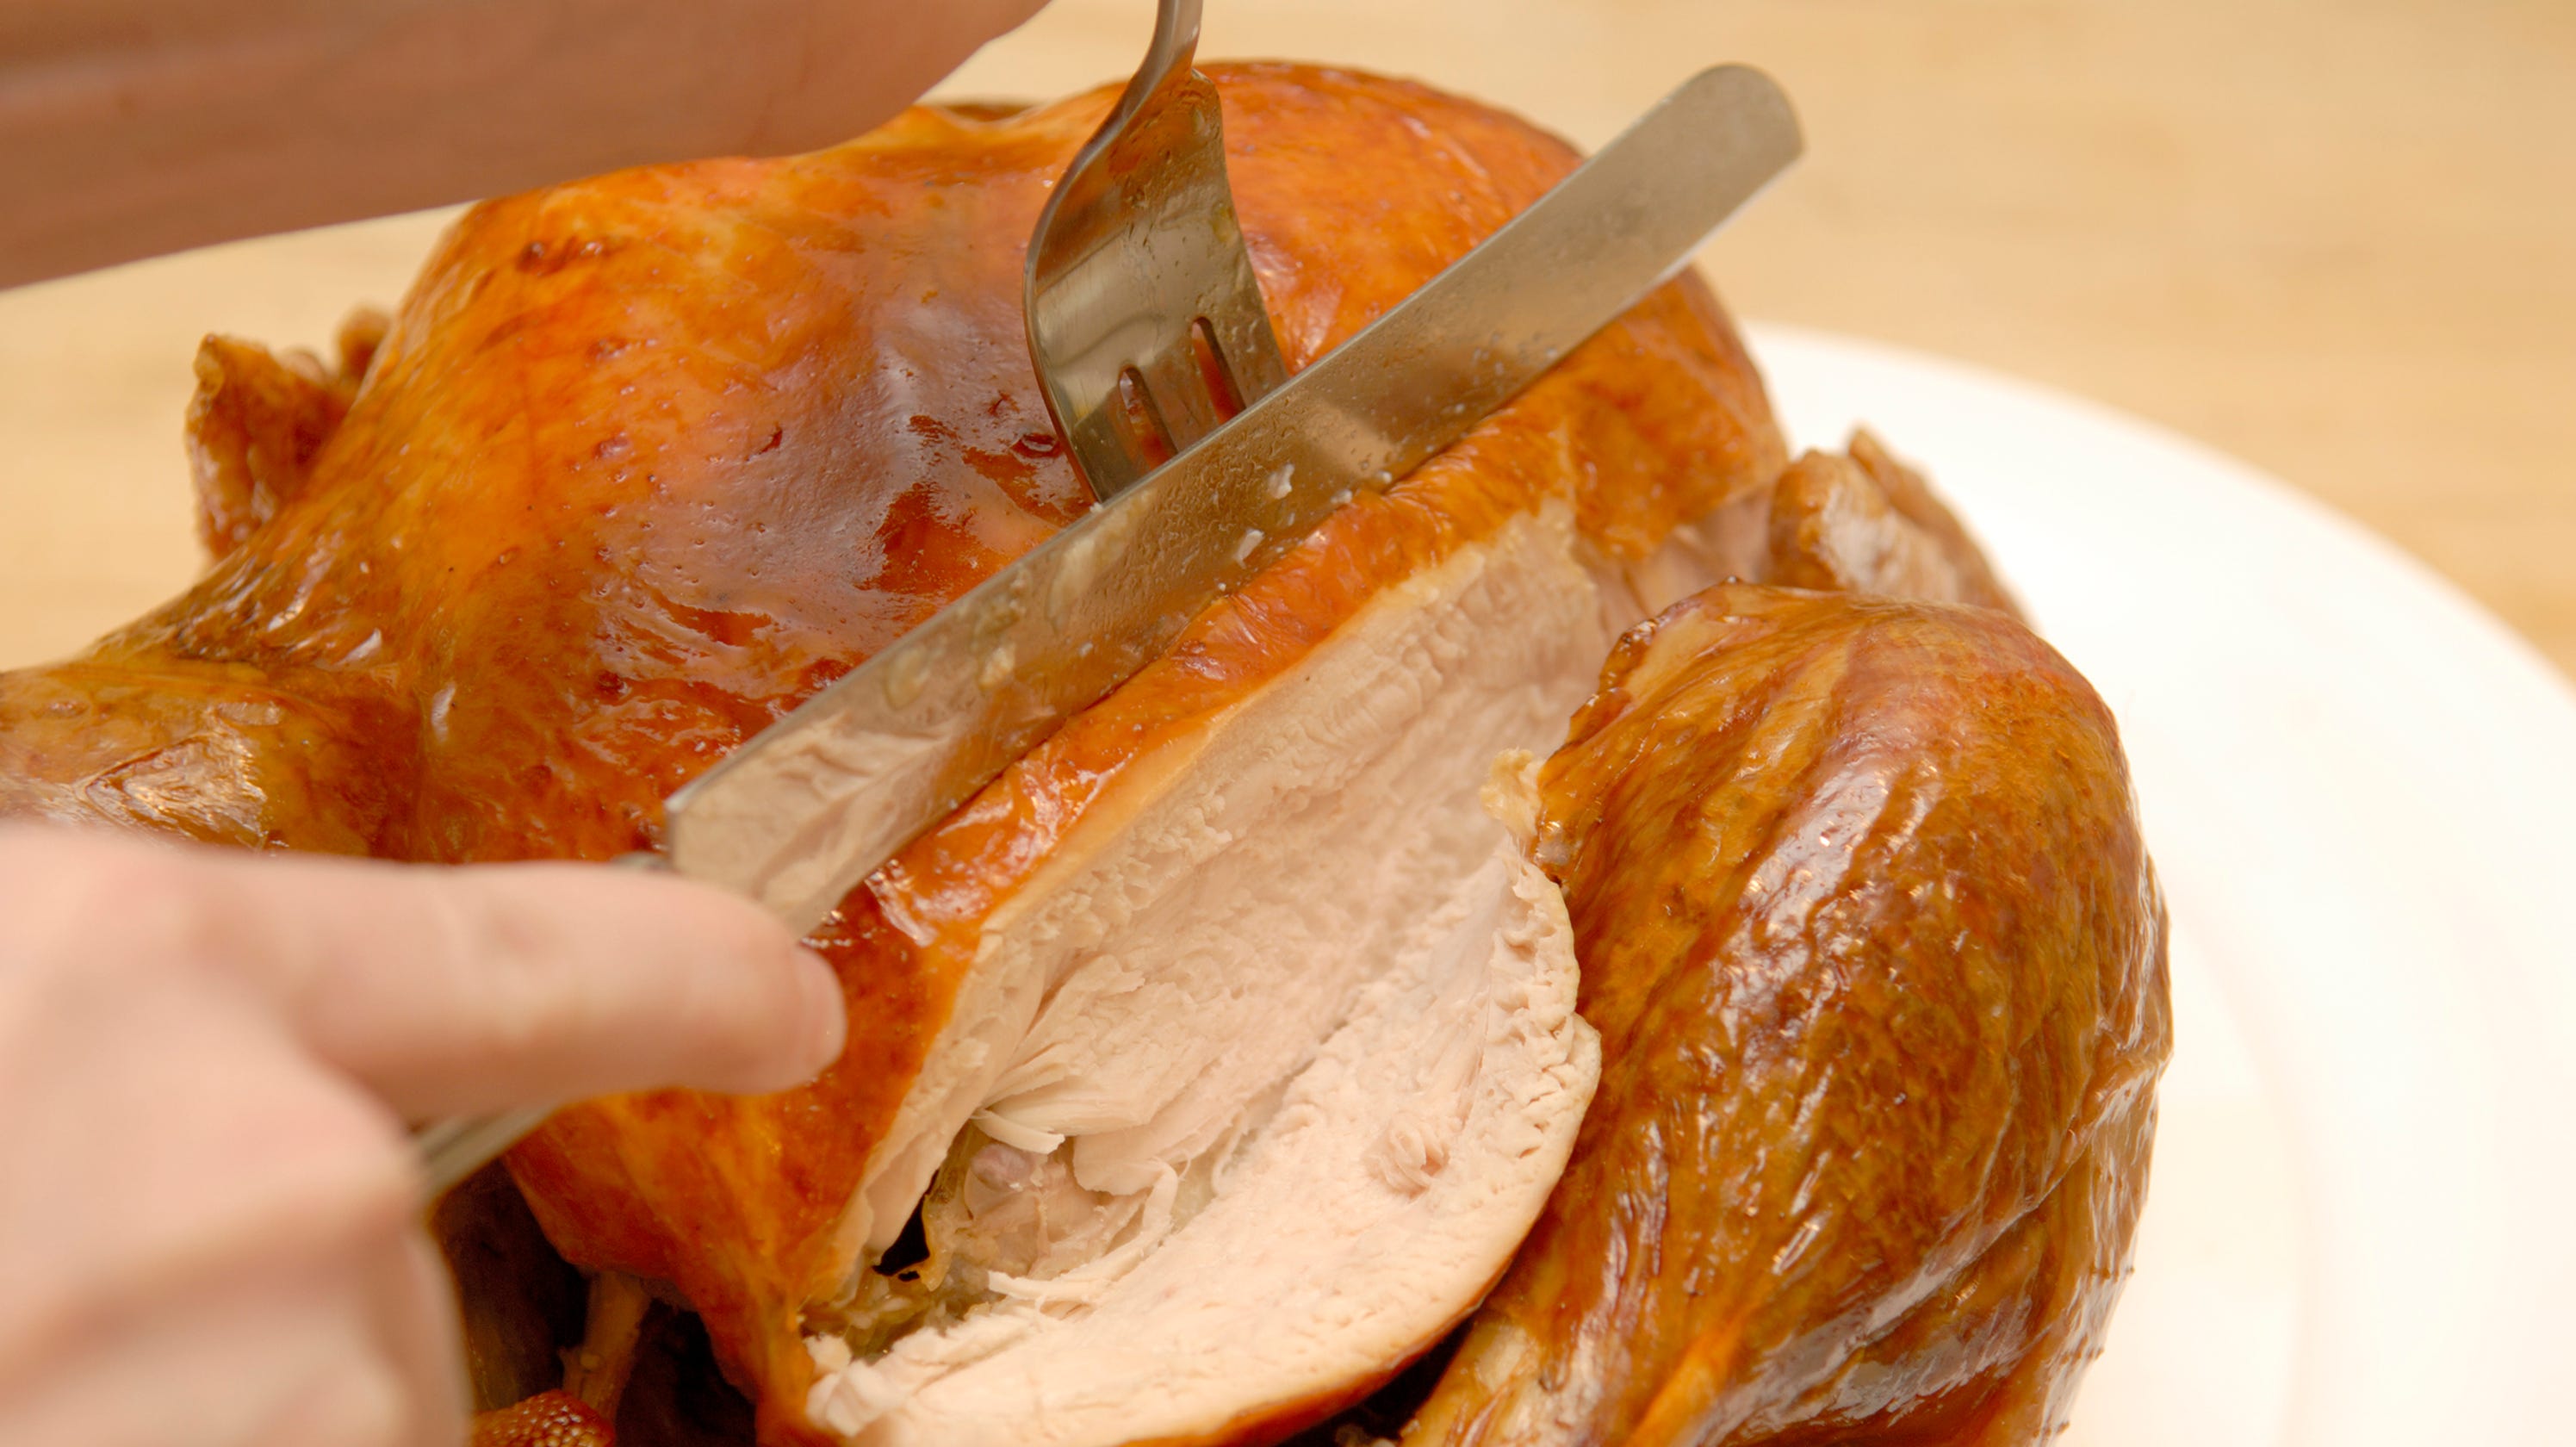
4. Carving the Breast Meat
This is where you'll get most of your white meat. Knowing the right techniques will take you from an eager eater to an experienced expert in no time:
- Locate the Breastbone: Find the breastbone (keel bone) running down the center of the turkey's chest.
- Make an Initial Cut: Beginning halfway up the breast, make a long, deep cut parallel to the breastbone, all the way down to the rib cage.
- Slice the Breast: Angle your knife slightly and slice straight down, following the contour of the rib cage. This will allow you to remove large sections of breast meat. Continue slicing until all the breast meat is removed from one side.
- Slice for Serving: Place the removed breast meat on your cutting board. Slice the meat against the grain into desired thickness (usually about 1/4 to 1/2 inch thick). This ensures tender, juicy slices.
Repeat for the other side of the breast.
5. Arranging Your Platter
Once all the meat is carved, it's time for presentation. Arrange the dark and white meat beautifully on your serving platter. You can alternate slices of dark and white meat, garnish with fresh herbs like rosemary or parsley, or add some roasted vegetables for color. This step-by-step guide will tell you how to create a beautiful carved turkey that's truly a showstopper.
Expert Tips for a Flawless Carving Experience
- Watch a Video: If you're a visual learner, watching a video can be incredibly helpful. Many culinary experts, like Thomas Joseph from Everyday Food, offer step-by-step video guides that show you exactly how to carve. Seeing the technique in action can make all the difference.
- Keep Your Knife Sharp: Seriously, a sharp knife is half the battle. If your knife starts to feel dull during carving, take a moment to hone it with a sharpening steel.
- Slice in the Kitchen: Make it easy on yourself and slice your turkey in the kitchen before bringing it to the table. This allows you to focus on the task without the pressure of an audience, and you can guarantee a beautiful presentation on the platter.
- Don't Forget the Scraps: Even after carving, there's often delicious meat left on the carcass. Pick off any remaining bits for sandwiches, soups, or salads. This ensures less waste.
- Storing Leftovers: Find out the best tools, tips, and tricks for slicing the meat and storing the leftovers. Store carved meat in airtight containers in the refrigerator. For longer storage, consider freezing it.
Final Thoughts
Knowing the right techniques to carve up a turkey will take you from an eager eater to an experienced expert. What may seem intimidating at first is actually a straightforward process with a few simple steps, a sharp knife, and a little practice. By allowing your turkey to rest, using the right tools, and following our step-by-step guide to remove the legs, wings, and breast meat, and then slicing the meat for serving, you'll create a stunning platter that will be the highlight of your holiday meal. So go ahead, carve with confidence, and enjoy the delicious results!
Video: How to carve a Thanksgiving turkey
Carving The Perfect Turkey - Stew Leonards

How To Carve A Turkey, With Step-By-Step Photos | HuffPost Life
