How To Draw A Bee: Simple Steps For Artists Of All Levels
Bees – those tiny, fuzzy, and incredibly vital creatures – are not just fascinating to observe; they also make for wonderfully charming subjects in art. Their distinctive stripes, delicate wings, and busy demeanor have captured imaginations for centuries. If you've ever wanted to bring one of these "busy workers" to life on paper, you're in the right place! Today, we are learning how to draw a bee, and this comprehensive guide will show you how to draw a bee with multiple ways, ensuring there's an approach perfect for everyone, regardless of your artistic experience.
Whether you're a complete beginner looking for a really simple approach to learn how, or an aspiring artist ready to tackle more detailed renditions, this tutorial is suitable for artists of any level, making it easier than ever to learn how to draw these adorable pollinators. We'll explore various methods, from utilizing simple shapes and strokes to sketching a detailed honeybee, so you’ll be drawing these busy workers on your own in no time.
Why Draw a Bee?
Beyond their undeniable cuteness, bees play an indispensable role in our ecosystem as pollinators. Drawing them is not only a fun artistic exercise but also a wonderful way to appreciate their intricate beauty and significance. Their iconic striped bodies and buzzing flight make them instantly recognizable, and surprisingly, quite forgiving to draw, especially when you break them down into simple components. You can draw this cute buzz in no time, and the satisfaction of creating your own little buzzing friend is immense.
Getting Started: What You'll Need
One of the best things about drawing is how little you need to get started. For our bee drawing adventure, here’s a basic list:
- Pencil: A standard HB pencil is great for sketching. If you have a lighter pencil (like 2H) for initial outlines and a darker one (like 2B or 4B) for details, even better!
- Eraser: A good quality eraser is essential for correcting mistakes and cleaning up your lines.
- Paper: Any standard drawing paper will do.
- Optional: Colored pencils, markers, or crayons if you want to add color to your finished bee.
Your First Buzz: Simple Bee Drawing for Beginners
For those just starting out, the key is simplicity. Our easy bee drawing step by step tutorial focuses on breaking down the bee into basic, manageable shapes. This method is perfect for kids and beginners, ensuring a fun and frustration-free experience.
The "Simple Shapes and Strokes" Method
This approach is all about using circles, ovals, and lines to construct your bee. It’s incredibly straightforward and yields a recognizable and charming bee very quickly. This one utilizes simple shapes and strokes so it’s perfect for anyone who feels intimidated by drawing. You'll be amazed at how quickly you can create a cute buzz.
- Start with Ovals: Draw two overlapping ovals for the body – one smaller for the head and a larger one for the abdomen. Think of them as two segments of a hotdog.
- Add a Circle for the Thorax: Between the head and abdomen, draw a slightly smaller oval or circle for the thorax, where the wings and legs will attach.
- Draw the Wings: Bees typically have two pairs of wings, but for a simple drawing, two simple oval or teardrop shapes on each side of the thorax will suffice. Make them translucent.
- Antennae and Eyes: Add two small circles for eyes on the head and two curved lines for antennae extending upwards.
- Legs: Simple lines with small circles or ovals at the end for feet will work for the legs. Bees have six legs, but for a simple drawing, you can imply them or draw just a few visible ones.
- Stripes: Draw a few curved lines across the abdomen to represent the bee's iconic stripes.
- Refine and Erase: Go over your lines to make them clearer, then gently erase any initial sketch lines.
Drawing a Cartoon Bee
Once you grasp the basic shapes, you can easily pivot to drawing a cartoon bee. This style allows for more exaggeration and personality. You’ll have everything you need to create and customize your very own cartoon bee by the end of this guide. Think big, expressive eyes, a friendly smile, and perhaps even a tiny stinger for character.
- Exaggerate the head and eyes for a cuter look.
- Give your bee a distinct facial expression.
- Make the stripes bolder and more pronounced.
- Experiment with different wing shapes – rounder, more pointed, or even slightly wavy.
Diving Deeper: Drawing a Detailed Honeybee
If you're ready for a bit more challenge and want to capture the essence of a real honeybee, we can delve into more intricate details. In this tutorial, we will learn how to draw a honeybee in 14 steps, focusing on accurate proportions and finer elements.
Capturing Proportions Accurately
The key to a realistic drawing lies in getting the proportions right. We will begin by sketching the pollinator in pencil—taking time to capture its proportions as accurately as possible. Observe real bee photos or even a live bee (from a safe distance!) to understand the relative sizes of its head, thorax, and abdomen, as well as the placement of its wings and legs.
For a detailed honeybee, you might start with a light construction line down the center of your paper to help with symmetry. Then, lightly sketch the three main body segments, paying close attention to their size relationship. The thorax is often the broadest part, connecting the head and the larger abdomen.
Adding Details: Wings, Stripes, and Legs
Once your basic proportions are set, it’s time to add the defining features:
- Wings: Honeybees have four wings (two on each side) that interlock during flight. For a detailed drawing, sketch these with delicate veins. Make them transparent to show the body underneath.
- Legs: Bees have six segmented legs. The hind legs of a honeybee are particularly interesting, as they often have pollen baskets (corbiculae) – a small concave area fringed with stiff hairs.
- Antennae: These are crucial sensory organs. Draw them with slight segmentation and a gentle curve.
- Eyes: Bees have large compound eyes on the sides of their head, which are made up of many tiny lenses. You can represent these with a textured, slightly bumpy surface.
- Hair/Fuzz: Bees are famously fuzzy! Add tiny, short lines or dots to give your bee a hairy texture, especially on the thorax and head.
- Stripes: While simple bees just need lines, detailed bees can have varying widths and fuzziness to their stripes, often darker on the thorax and abdomen.
Multiple Approaches to Master the Bee
As mentioned, easydrawforkids.com will show you how to draw a bee with seven ways, and this guide incorporates many of those principles. From quick sketches to detailed illustrations, the beauty of drawing bees is their versatility. Don't be afraid to experiment! Try drawing your bee from different angles, in flight, or even interacting with a flower. Our bee drawing tutorial is suitable for artists of any level, making it easier than ever to learn how to adapt your style.
Anyone wanting to know how to draw a bee won’t want to miss this guide, as it equips you with the foundational knowledge to tackle any bee drawing challenge. The more you practice, the more confident you'll become in developing your unique bee drawing style.
Step-by-Step Bee Drawing: A General Guide
To consolidate what we've learned, here's a general step-by-step approach that can be adapted for both simple and detailed bees. Follow our easy bee drawing step by step tutorial and you’ll be drawing these busy workers on your own in no time.
- Start with Basic Shapes: Lightly sketch the main body parts using simple geometric shapes. An oval for the head, a slightly larger oval or circle for the thorax, and a larger oval for the abdomen. Think of it as a snowman shape lying on its side.
- Add Guidelines: If aiming for symmetry, draw a light central line. For wing placement, draw light horizontal lines extending from the thorax.
- Sketch Features: Lightly draw the eyes on the head, and the antennae extending from the top of the head. Add rough placements for the six legs extending from the thorax.
- Draw Wings: Sketch the wing shapes. For simple bees, two ovals. For detailed bees, four transparent, veined wings. Ensure they overlap slightly and are positioned on the upper part of the thorax.
- Add Stripes: Draw curved lines across the abdomen to form the stripes. You can vary the thickness and spacing.
- Refine Lines: Go over your light sketch lines with a slightly darker pencil or pen to define the final outlines of your bee. Pay attention to curves and connections between body parts.
- Erase Guidelines: Once your main outlines are solid, carefully erase all the initial light sketch lines and any unwanted construction lines.
- Add Details and Texture: This is where your bee comes to life! Add fuzziness to the body with short, light strokes. Detail the eyes, legs, and wing veins. If it's a cartoon bee, add a smile or expressive eyebrows.
- Color (Optional): If you wish, add color. Bees are typically black and yellow, but feel free to experiment with shades of brown, orange, or even fantastical colors for a cartoon bee.
Conclusion
Learning how to draw a bee is a rewarding journey that can be as simple or as detailed as you like. From the very first "cute buzz" created with a few simple shapes to a meticulously rendered honeybee, this guide has provided you with the tools and techniques to bring these amazing insects to life on your paper. Remember, practice is key, and every stroke brings you closer to mastering your craft. So grab your pencil, follow these steps, and start drawing these busy workers on your own in no time!
In summary, we've covered why bees are great drawing subjects, what basic supplies you need, how to approach drawing bees using simple shapes for beginners and cartoon styles, and how to tackle more detailed honeybee drawings by focusing on proportions and intricate features. We also provided a general step-by-step guide applicable to various styles, emphasizing that learning to draw a bee is accessible and fun for artists of any level.
How to Draw Realistic Cat for BEGINNERS | Fur Drawing Technique - YouTube

Easy Drawing Guides | Draw with Easy Step by Step Tutorials
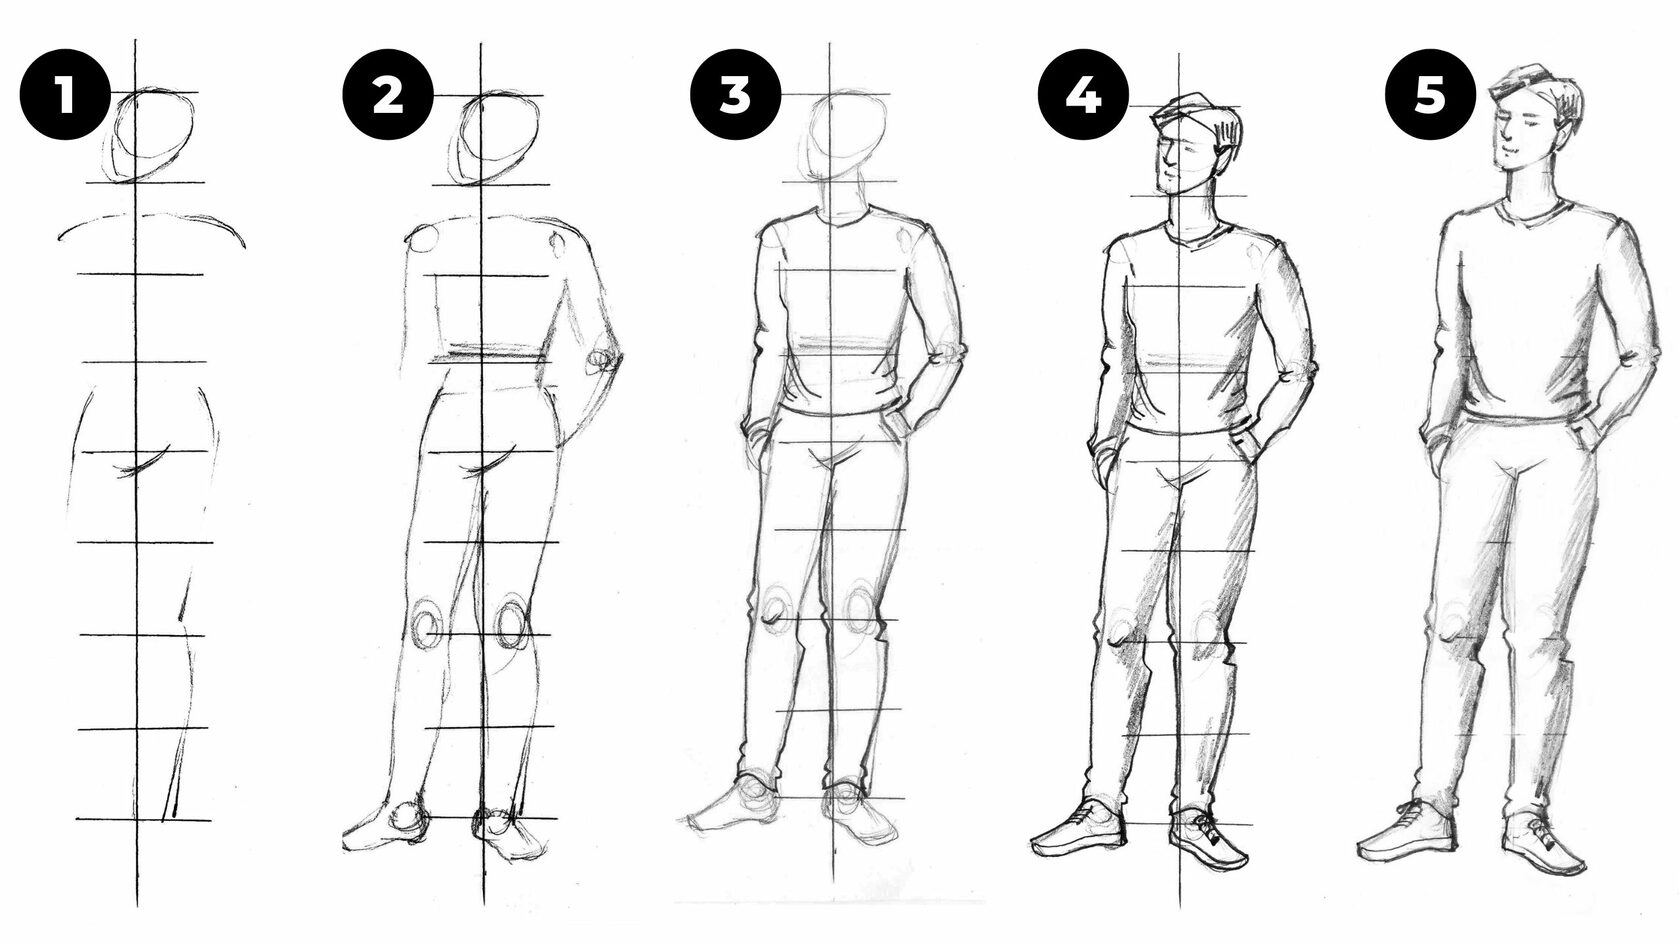
Drawing the Human Figure Made Easy: Step-by-Step Tips and Techniques
