Mastering The Art Of Drawing Fire: A Step-by-Step Guide To Dynamic Flames
Fire, with its mesmerizing dance and captivating glow, has fascinated humanity for millennia. It's a symbol of warmth, destruction, transformation, and as many say, the symbol of coziness and home. But how do you capture such a vibrant, ever-changing element on paper or a digital canvas? Drawing flames can be tricky since they don’t have one solid form or color, and indeed, fires and their flames are dynamic, which can make drawing fire tricky. However, don't let that intimidate you! In this fantastic tutorial, we will help simplify exactly how to draw flames, making the process enjoyable and accessible for everyone.
Whether you're a seasoned artist looking to refine your skills or a complete beginner, you too can easily draw a perfect fire. We’ll walk you through each stage, from basic shapes to intricate flame details, making fire drawing accessible and fun. By the time you finish this tutorial, you’ll have the skills to create stunning fiery artworks. So, grab your drawing tools, and let's fan the flames of your creativity!
The Essentials: What You'll Need to Get Started
Before we dive into the specifics, let's gather our supplies. The good news is, you don't need anything fancy to begin. All you need to get started are essential drawing supplies like a pencil, an eraser, and some paper. For adding color, you might want colored pencils, markers, or even paints (watercolors or acrylics work wonderfully for fire's luminosity). If you prefer digital art, any drawing software and a tablet will suffice. The principles we discuss apply universally, whether you're working traditionally or digitally.
Understanding the Nature of Fire
To draw fire effectively, it helps to understand its fundamental characteristics. Fire is not static; it's a living, breathing entity. It focuses on understanding fire’s shape, transparency, and interaction with its surroundings. Here are a few key points to keep in mind:
- Dynamic and Fluid: Flames constantly move, flicker, and change shape. They are never perfectly symmetrical or still.
- No Solid Form: Unlike a solid object, fire is a gaseous phenomenon. This means it has a certain transparency and wispiness.
- Vibrant Colors: Flames typically range from bright whites and yellows at their hottest core, transitioning through oranges and reds, and sometimes even blues or purples at the cooler edges or base.
- Light Source: Fire is a powerful light source, illuminating its surroundings and casting shadows. Consider how it interacts with objects around it.
Step-by-Step: Drawing Your First Flickering Flame
Let's begin with the basics. Try drawing a single flickering flame first. This will help you get a feel for its unique movement and form before tackling more complex scenarios.
1. Basic Shapes: The Foundation
Every great drawing starts with a solid foundation. For a flame, think of a teardrop or an inverted heart shape. Use a light pencil to sketch this initial outline. This doesn't have to be perfect; it's just a guide. Remember, flames are rarely perfectly smooth, so add a slight wobble or curve to your initial shape.
- Start with a gentle, upward curve for the base of the flame.
- From this base, draw two lines that converge upwards, forming a rounded, somewhat irregular point at the top. Imagine a wavy, elongated teardrop.
- Keep these lines very light. They are just placeholders.
2. Adding Movement and Flow
Now, let's bring that static shape to life. Fire isn't rigid; it dances. This is where you start capturing the dynamic shapes. Instead of smooth lines, think about soft, undulating curves that suggest motion.
- Refine the edges of your flame. Make them irregular and slightly jagged, as if the flame is flickering in the wind.
- Add smaller, wispier tendrils extending from the main body of the flame. These represent smaller bursts of heat or embers rising.
- Think about the direction of the wind or air currents. Flames tend to lean slightly in one direction.
3. Layering Colors and Light
This is where the magic happens and you truly capture the vibrant colors of flames. Fire has an inner glow that radiates outwards. This layering technique helps achieve that luminosity.
- Innermost Core (Hottest): Start with the brightest color – usually a very light yellow or even white – for the very center and base of your flame. This is where the heat is most intense.
- Mid-Layer (Warm): Around the bright core, layer in warmer colors like bright yellow, orange, and light red. Blend these colors smoothly, allowing them to transition seamlessly.
- Outer Layer (Cooler): For the outermost edges of the flame, use deeper reds, oranges, and sometimes even hints of dark blue or purple, especially if you're drawing a very hot, clean-burning flame. This adds depth and contrast.
- Transparency: Remember the transparency. The outer layers should feel lighter and more ethereal than the dense core.
4. Details and Texture
To make your fire truly convincing, add those final touches that give it texture and realism.
- Flickers: Add tiny, almost detached flickers of light around the main flame.
- Smoke/Soot: Depending on the type of fire, you might add a faint wisp of dark smoke rising from the top, especially for a less clean burn.
- Interaction with Surroundings: If your flame is on a candle, draw the wick. If it's a campfire, show it interacting with logs and embers.
Expanding Your Fiery Repertoire
Once you've mastered a single flame, you can apply these principles to various types of fire. As mentioned, in this tutorial, I will show you how to draw a candle flame, a campfire, and a thrown flame using a few simple tools. While we're not using specific video tools here, the concepts remain the same.
Drawing a Candle Flame
A candle flame is often small and delicate. For a realistic effect, consider drawing it on a dark background to emphasize its luminosity. Focus on the teardrop shape, the bright white-yellow core, and the subtle orange-red halo. Don't forget the dark, thin wick at its base.
Drawing a Campfire
A campfire is a larger, more chaotic beast. It usually involves multiple flames intertwining and dancing over logs. For this, a light background can work well to highlight the embers and smoke. Focus on the varied heights and shapes of individual flames, the glowing embers at the base, and the charred texture of the wood. The interaction of light and shadow on the logs is crucial here.
Drawing Other Flames
The principles of dynamic shapes, color layering, and light interaction apply to all forms of fire, whether it's a fireplace, a dragon's breath, or a fiery explosion. Experiment with different contexts and see how the flame behaves.
Tips for Mastering Fire Drawing
Drawing fire can be both fun and challenging, but with practice, you'll see significant improvement. Here are some extra tips:
- Observe Real Fire: Pay attention to how real flames move, how their colors shift, and how they interact with light. Use reference images or even safely observe a candle.
- Practice Regularly:By following the simple steps, you too can easily draw a perfect fire, but consistency is key.
- Experiment with Mediums: Try different art supplies. Watercolors can give a beautiful translucent effect, while pastels can create soft, glowing textures.
- Don't Be Afraid to Fail: Every stroke is a learning opportunity. Beginners and younger kids alike can easily follow along and have a great time experimenting.
- Simplify First: As mentioned, try drawing a single flickering flame first before attempting a raging inferno.
Final Thoughts
You've journeyed through the steps of drawing one of nature's most captivating elements. From understanding its dynamic nature to layering vibrant colors, you now have a solid foundation. Remember that learning how to draw a great looking fire with easy drawing instructions is all about patience, observation, and practice. By the time you finish this tutorial, you’ll have the skills to create captivating flames that bring warmth and energy to your artwork. Keep practicing, keep experimenting, and let your creativity burn bright!
How to Draw Realistic Cat for BEGINNERS | Fur Drawing Technique - YouTube

Easy Drawing Guides | Draw with Easy Step by Step Tutorials
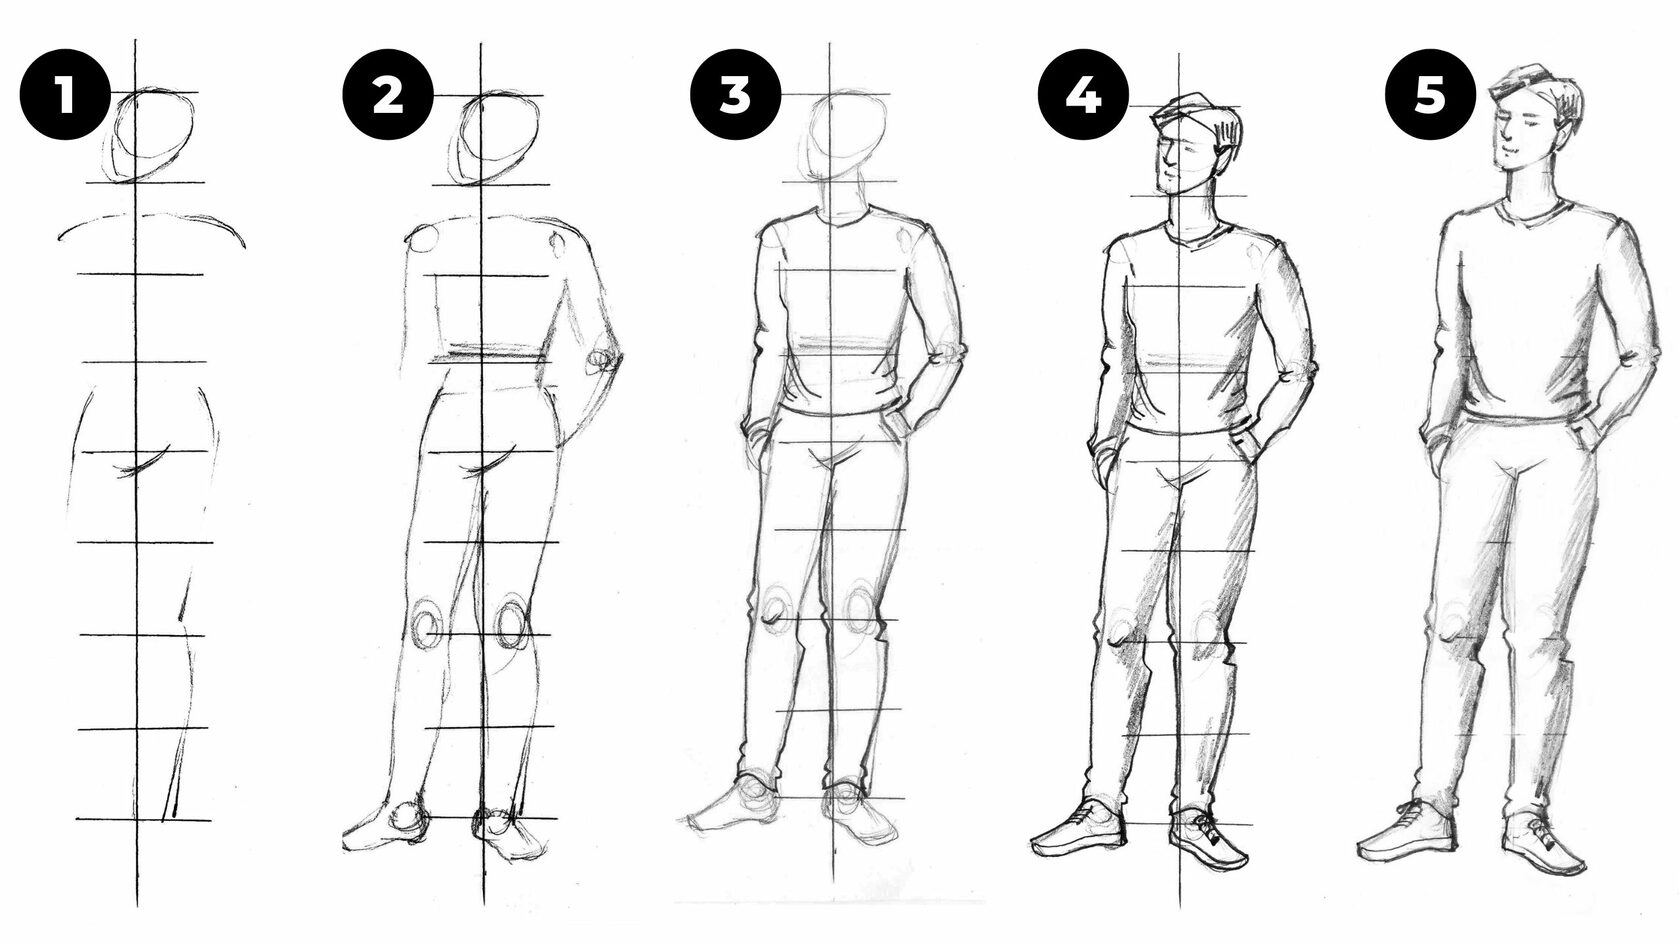
Drawing the Human Figure Made Easy: Step-by-Step Tips and Techniques
